Pom Pom Zipped Cushion

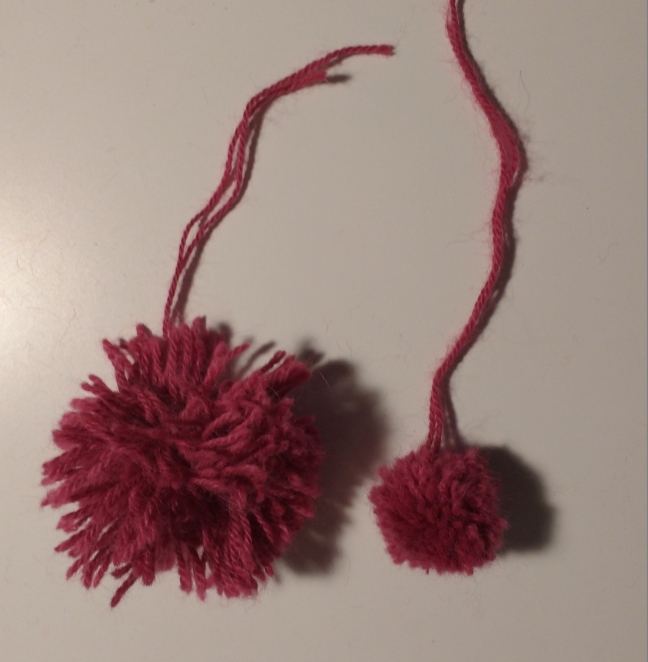
Pom poms are little tufts of JOY! The humble pom pom will add colour, texture and whimsy to any craft piece. Making pom poms is a great excuse to use excess wool left from other projects and so its a cheap way to give your cushion covers, throws or other soft furnishings an update. I used oddments of grey, orange and pink to make pom poms of different sizes and arranged them in clusters around the perimeter of the cushion.

Pom poms are very easy to make, but can take some time if you want to make a lot. I bought the Multipom last year at a craft show and it has been amazing. You can create up to twenty small pom poms in one go and its a lot less fiddly than other devices I’ve used. It is great when making pom pom garlands, as you can easily make pom poms of the same size. I made a 6 metre garland last year for my Christmas tree in no time at all (well it took a while; but you know, a lot less than with a plastic or cardboard template!).

Materials:

  • 3 x different coloured balls of wool or oddments
  • Multipom pom pom maker
  • Scissors
  • Darning needle
  • 2 pieces calico 49 x 49cm
  • Matching thread
  • Matching zip 51cm
  • Cushion filler 46cm
  • Zipper foot
  • Disappearing ink fabric pen

Pom Pom Cushion: How To
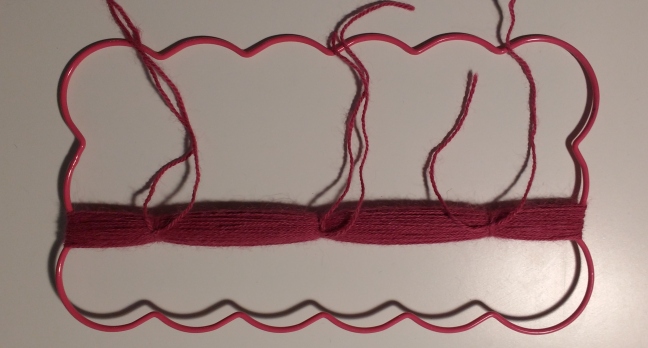
Tie wool to create pom poms

  1. Make the pom poms by wrapping wool around the metal frame. Tie a length of wool at the same intervals so that each pom pom will be the same size. You can create different sizes by wrapping more or less wool around the frame and by adding ties at smaller or larger intervals.Trim the pom pom to size
  2. Cut between the ties, then trim each pom pom down to the desired length. You may need to cut off quite a lot.
  3. Repeat with different coloured wools and make differently sized pom poms.mark-calico
  4. Cut the calico to two 49 cm square pieces. This includes a 1.5 cm seam allowance.
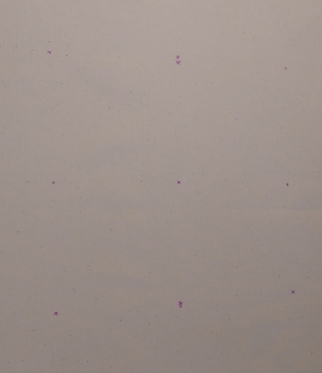
  5. Mark nine dots around the perimeter of the square so that the pom poms will be evenly spaced when attached. (I originally was going to have a cluster of pom poms in the middle but decided against it).
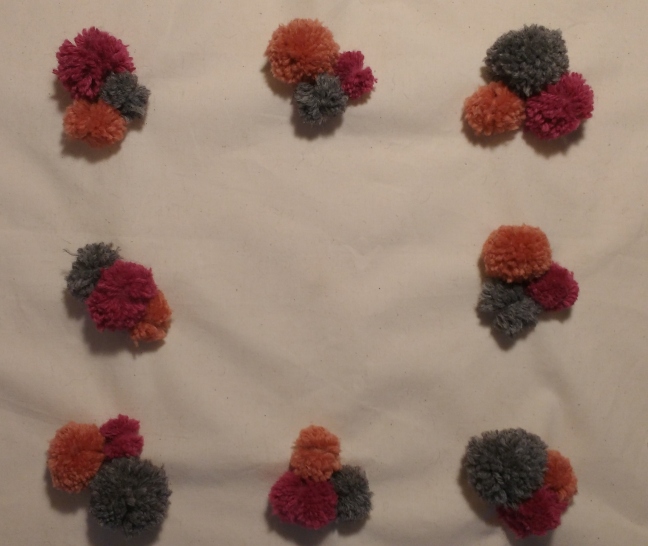
    Pom Poms attached on front of cushion

  6. Using a darning needle, pull the two threads of the pom pom through the calico. Tie a double knot on the other side. Repeat for three different coloured pom poms near each mark.
  7. Now its time to put the front and back together. Attach the zipper foot to your machine. Pin the open zipper face down on the right side of the back piece. I used a longer zip so that there is excess on each end. Inserting zip into cushion
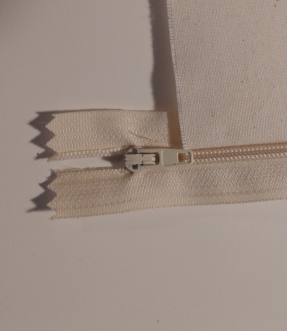
  8. Sew close to the teeth. At the half way point, stop and pull the zipper behind the foot so that its out of the way for the rest of the sewing.
  9. Attach the front of the cushion. Put right sides together and pin the other side of the zip in place. Repeat step 8.
  10. Keeping the right sides together, sew around the other three sides with a normal foot, leaving the zip open enough to turn the cushion the right way around again. Reverse over the ends of the zip a couple of times to reinforce, but avoid hitting the teeth with the needle.
  11. Trim the excess zip and cut the corners diagonally, avoiding snipping the stitching. This will reduce bulk and give the cushion crisp corners.
  12. Turn the right way around and insert the cushion filler and zip it up.

You can experiment with different pom pom sizes and coloured wools to make this project suit your tastes. Pom poms look sweet on patterned fabric too.

Simple Tablecloth

DIY Tablecloth: Marimekko Fabric

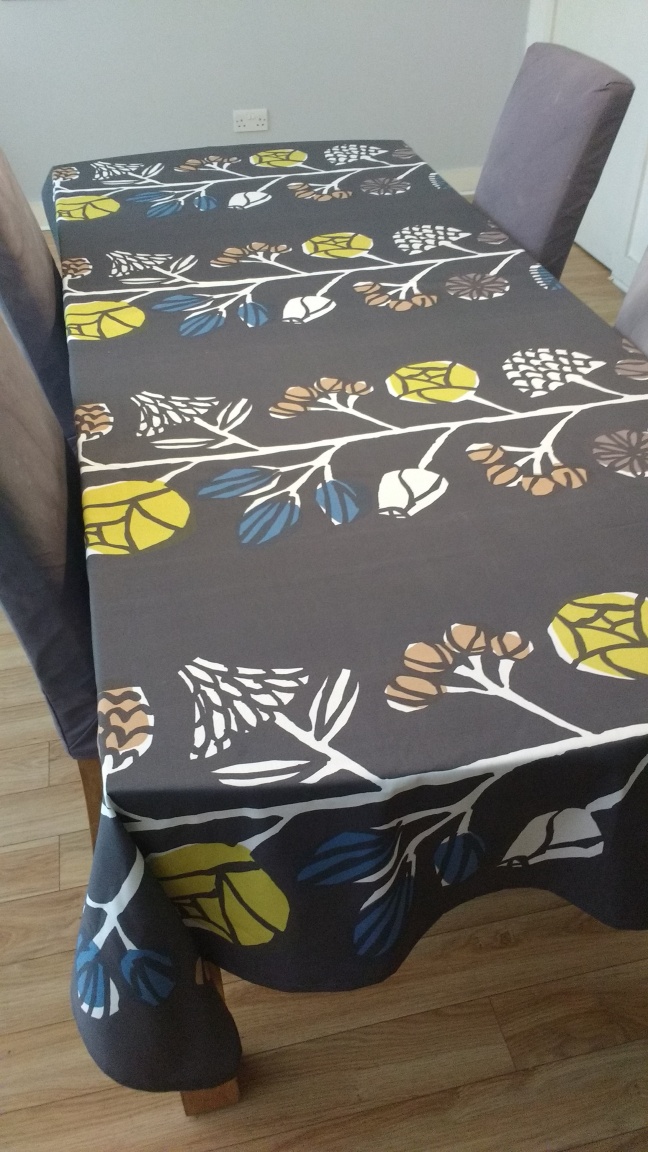
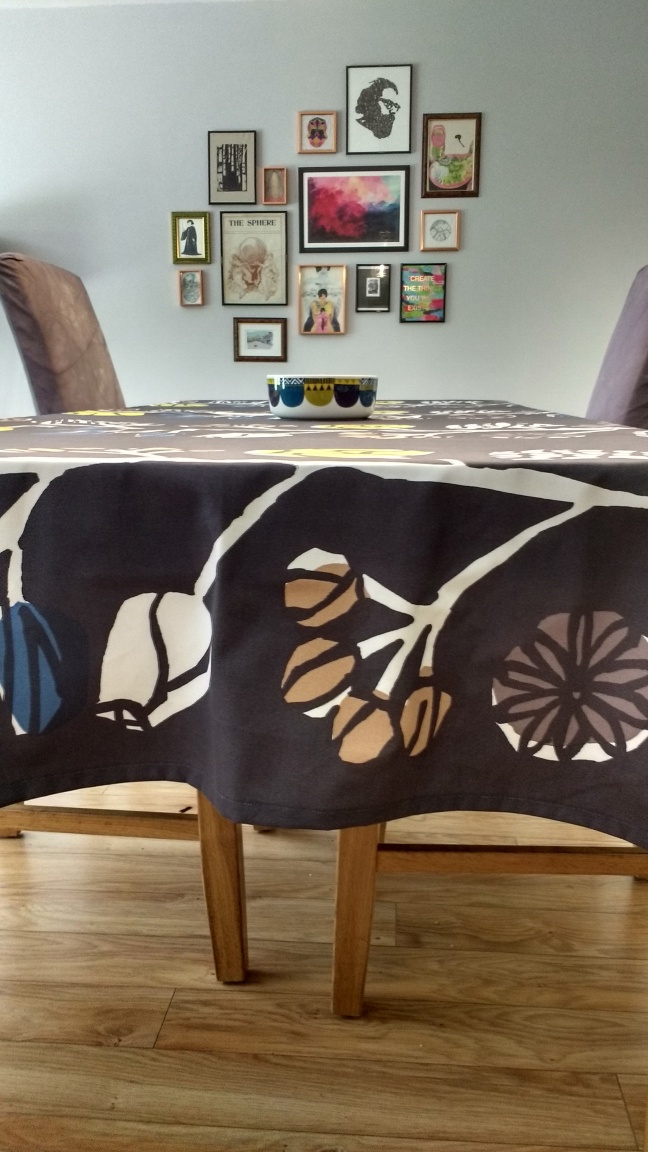
I’ve a confession to make: I’m a Marimekko addict! A trip to Finland is incomplete unless I have at least one Marimekko item packed in my suitcase home. Sometimes I behave and only leave the shop with a packet of Unikko napkins, but, more often than not, it takes a bit more to satiate my hunger for their delicious prints. The last time it was this beautiful Kranssi print that just couldn’t be left in the store. But, hey, I really needed a tablecloth with a bit of punch. The table and chairs came with the apartment, but I wasn’t very keen on them. I made the slips for the chairs last summer with cheap fabric I bought in Ikea that I dyed in the washing machine. They just needed a bold print to accompany them. A double fold hem (speeded up with a nifty bit of card as a guide) and a lot of pressing later and I was delighted with my updated dining area. Simples.

Materials

  • Fabric – 2.5m for 2m table
  • Rotary cutter and mat
  • Matching thread
  • Pins
  • Card
  • Scissors
  • Iron and ironing board

Tablecloth Hem: How To

  1. Trim fabric to correct size using a rotary cutter, ensuring all edges are straight. Allow hang of approximately 25cm from edge of table. I didn’t trim the selvedge (although recommended), as this would be hidden in the allowance.
  2. Cut a piece of card 1.25cm wide.
  3. Using the piece of card as a guide, fold over the allowance and press. Continue all the way around the fabric.
  4. Fold over the fabric a second time and continue all the way around again. Now you have a double fold.

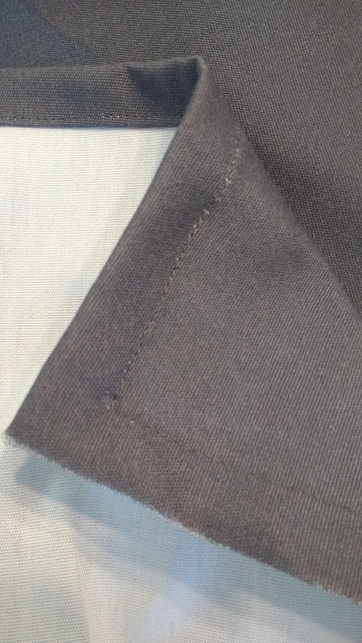
  5. Then it’s time to create a mitred corner. Unfold the fabric at the corner and fold straight across, matching up the creases.
  6. Trim the excess along the points where the first two squares meet (red line in photo).
  7. Refold along the creases to form the point and pin in place.Front view of mitred corner
  8. Top-stitch close to the edge of the fabric to keep the hem in place, pivoting between where the two sides meet to form a sharp point on the corners.Make a tablecloth from Marimekko fabricDIY Tablecloth: Marimekko Fabric

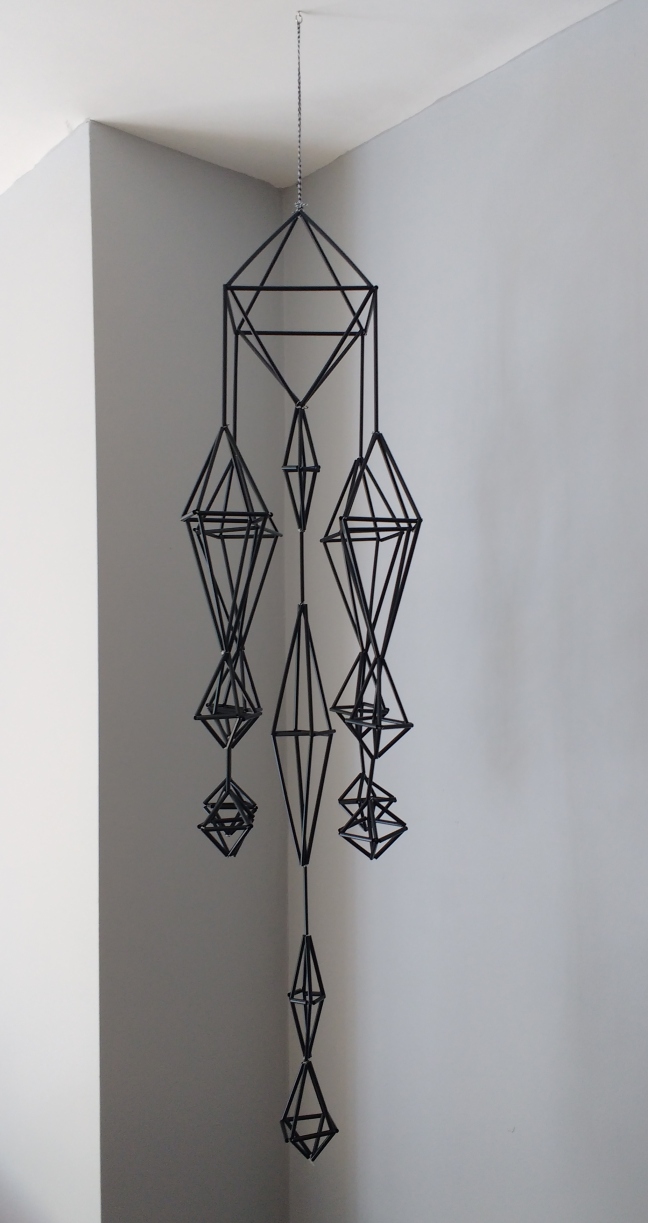
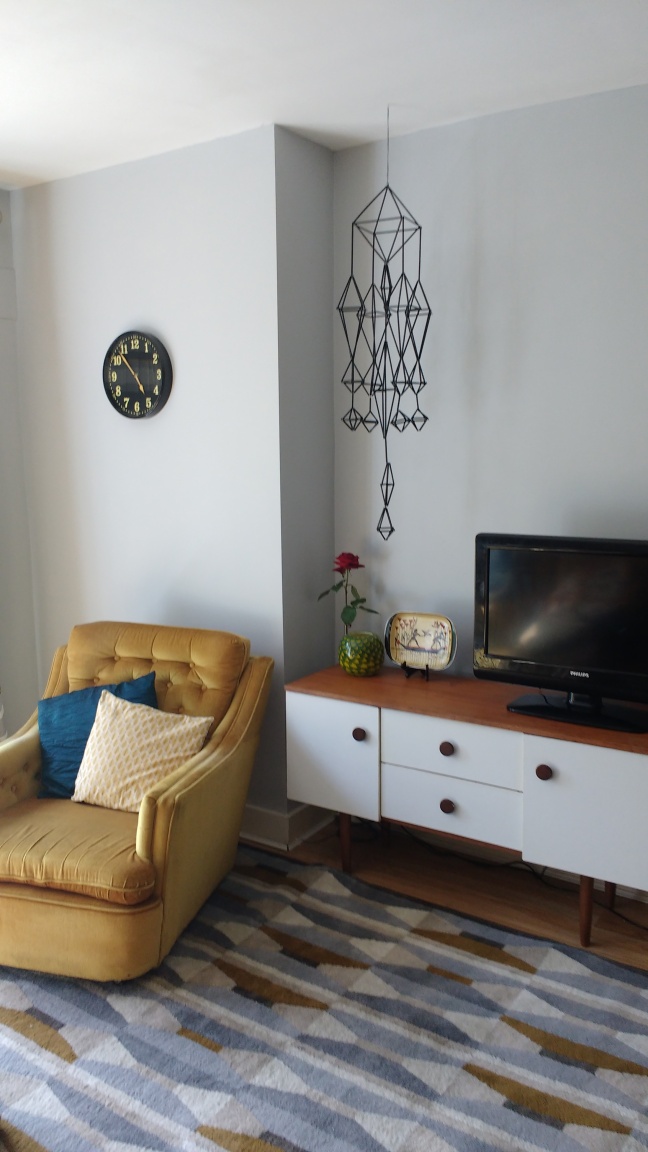
DIY Himmeli

A himmeli is a traditional Finnish decoration made from fine pieces of straw. Usually they were made at Christmas time and were hung from the rafters until May Day to encourage a good harvest. I’ve seen these in so many houses in Finland. They are beautifully intricate and delicate and gently move with a current of air, casting shadows and shapes. My great grand aunt was an expert himmeli maker. I was thrilled when my granny found these photos of her with her work in the 80s. As you will see, my offering is a whole lot cruder and simpler. I really could have done with Aunt Tyyne’s nimble fingers!

I also found a great nugget in a guide about himmeli making from Seinäjoki’s Kalevala Women (I guess the Irish equivalent would be the Irish Country Women’s Association). This is my very rough translation:

 “Himmeli-making was traditionally a pastime for youngsters, primarily girls, as part of Christmas preparations. In Hollola [Southern Finland], for example, in many households girls would gather on a Saturday night in the warm sauna to make himmelis, as the damp and heat had made the straw easier to manipulate by hand. Local young men began to join in with the task. Thusly, himmeli-making became a large part of village courting habits.”

There’s something quaintly romantic about this – heads bent in low light creating something together as you talk shyly to your suitor – pretty far removed from my generation’s courtship rituals of questionable Tinder dates and ‘Netflix and chill’ sessions. I can’t say it bares any resemblance to my usual Saturday night, but I will admit it was quite an enjoyable pastime for a Wednesday night in front of the TV.

Anyone who loves geometric designs, with a few hours to spare and an abundance of straws: this one is for you.

Materials

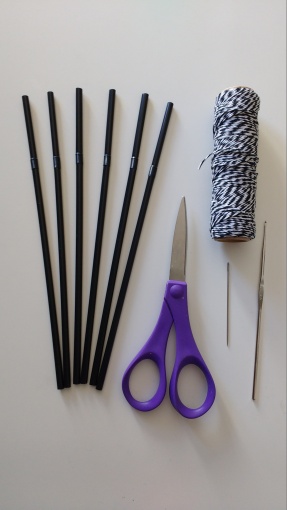
himmeli-materials

  • Drinking straws
  • Thread/String
  • Scissors
  • Needle
  • Crochet hook
  • Hook for hanging

Himmeli: How Tostraw-and-string

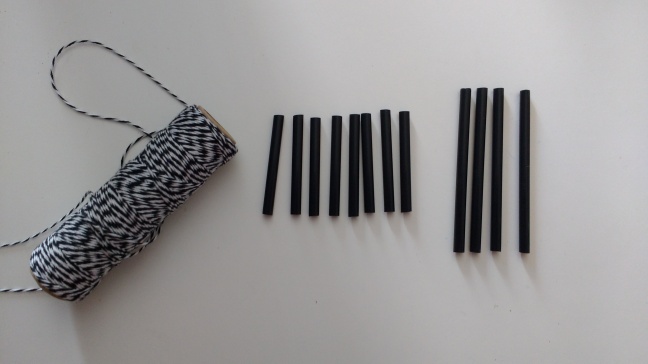
  1. Cut 8 short pieces of straw and 4 long pieces. The pieces used in this example are 4.5cm and 8cm.
  2. Thread a short piece, followed by two long pieces and then a short piece onto the string. Tie a knot and cut.
  3. Repeat and knot, this time leaving a long piece of thread on the needle. You now have two diamond shapes.
  4. Tie the bottom tips of the two shapes together with a separate short piece of string.
  5. Bring the long string back through one of the top short pieces of the shape and thread another short piece of straw onto the thread.
  6. Wrap the thread two or three times around the joint of the next shape. Repeat until you have a diamond shape.
  7. Bring the thread back up to the top and secure the two shapes together with a knot. Hide any loose threads by catching them with a crochet hook and pulling them inside the structure.

  8. Make one large diamond in the same manner for the rest of the diamonds to hang from. Decide upon the order of the shapes.how-to-himmeli
  9. Use the same method that you used to make each diamond to attach them all together. Thread the string through one diamond, wrap at next joint, and continue by bringing the thread through the next diamond. If you run out of string, tie on another piece.

hanging-himmeli

Extra Tips

  • Make sure all the pieces of straw are cut the same length so that the points meet properly.
  • If your needle gets caught inside the straw (which can happen with longer pieces), ease it out with the use of the crochet hook.
  • Use a thread the same colour as your straws for a neater look.
  • Experiment with shapes – try putting smaller diamonds inside bigger ones.
  • Use spray paint to make your himmeli match your decor.

Statement Wall Hanging

Inspirational Text Wall Hanging DIY

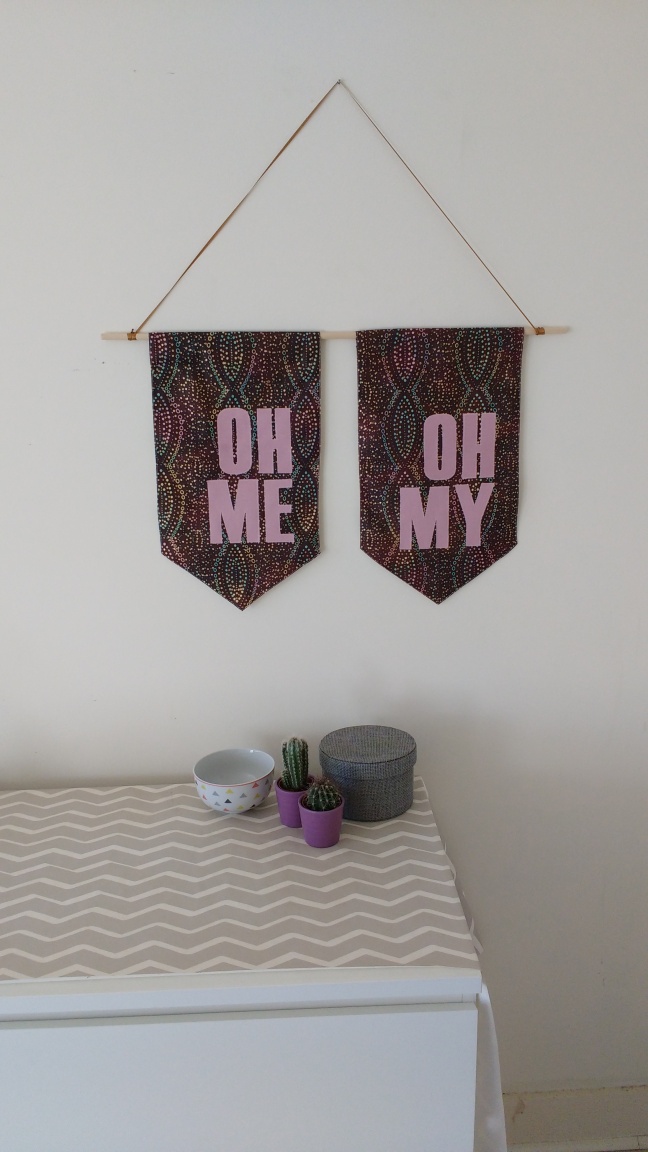
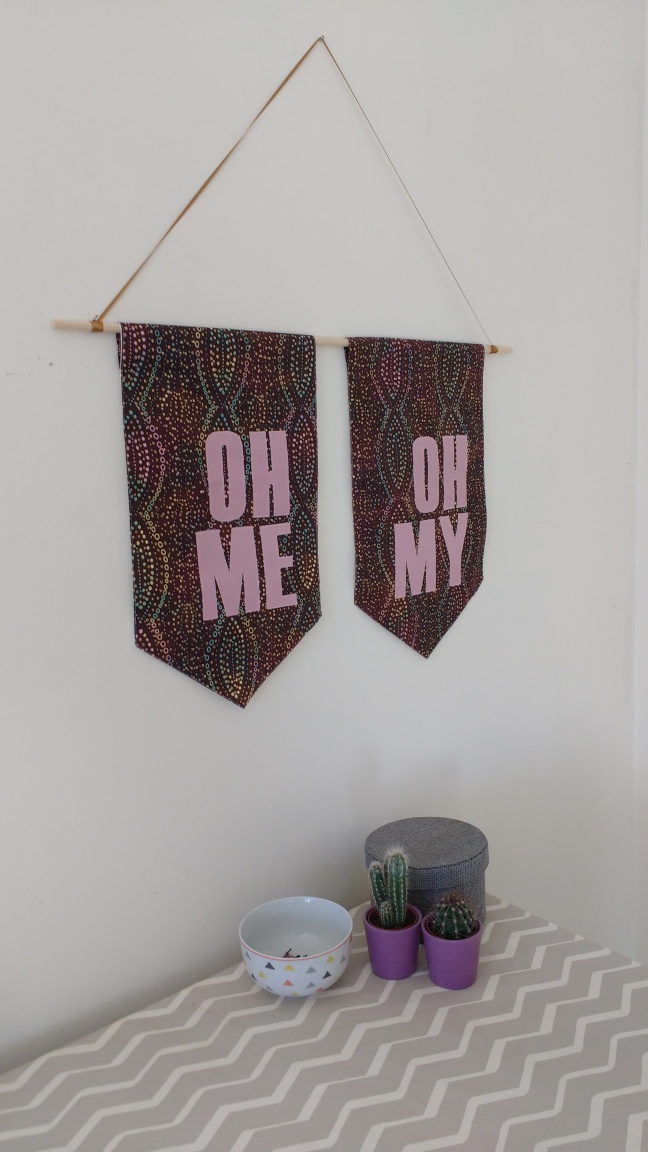
 Ever look in the mirror in the morning and just think ‘blah’? We all need some positive affirmation from time to time. I wanted something cheerful and graphic that will catch my eye when I haul myself out of bed and set me up for the day. So a bit of wall art might not fix my addiction to the snooze button, but it’s a good start…right?

I’ve been lusting after a wall hanging  for a while – they’ve been infiltrating my Pinterest feed for months. I’d love to try to weave a folksy cover up for some of the other knocks in my wall. The beauty of the DIY wall hanging is that it can be tailored to any shape or size and it’s a great way of adding colour and texture to your room. Hide a multitude of DIY sins and cheer up your wall? Win Win!

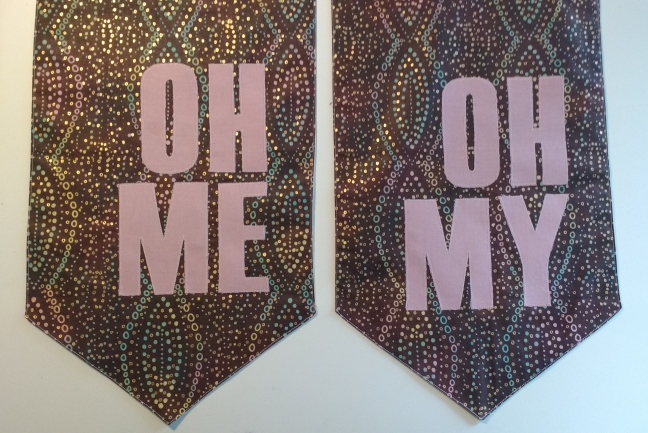
This one only took a couple of hours and you could opt to just make one panel and split the time in half if you were so inclined (*ahem lazy). I recommend choosing bold block letters for the applique. Although the squiggly writing may look great on paper, once you start cutting it out – never mind trying to maneuver it in your machine – the profanities will be insuppressible. Plus, the bold font looks better against a patterned background.

Materials

  • Computer, paper and printer for making letter templates
  • Two pieces of printed cotton, 50cm x 27cm each
  • Two pieces of calico, 45cm x 27cm each
  • Plain coloured fabric, 40cm x 25 cm
  • Matching thread
  • Scissors
  • Bondaweb, 40cm x 25cm
  • Wooden dowel, 70cm
  • Ribbon
  • Double-sided tape

Wall Hanging: How To

Repeat the steps for as many panels as you want.

  1. Print out letters for saying of your choice in a font you like. Cut out to use as templates.
  2. Iron on the Bondaweb to the back of your fabric.
  3. Place the letters – black side down to make sure they come out the right way – onto the side with the Bondaweb and trace. Cut out.
  4. Taking the printed fabric piece that measures 50cm x 27cm, mark 10cm from the bottom on both sides and also mark the centre point. Draw a line from mark on left to centre point and mark on right to centre point. Cut with scissors or rotary cutter to form V-shape. Repeat with the calico pieces.
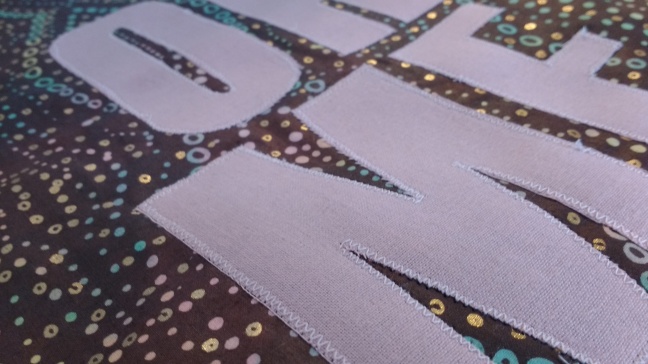
  5. Peel off backing from letters and place in desired position on the backing fabric. I measured 5cm from the edge and left 1cm between the letters. Iron to secure (sugary side down to avoid a sticky iron. I only did it wrong once this time).Fabric Letters for Statement Wall Hanging
  6. Sew around each letter using a zig-zag stitch.
  7. Line up the points of the cotton and calico pieces, right sides facing each other. With a 1cm seam allowance, stitch along all the way around, except for the shorter straight end.
  8. Trim the corners. Turn the right way around and iron, ensuring points are sharp.
  9. Press down 1.5cm from top. Top stitch all the way around the perimeter of the hanging with contrast thread.
  10. Turn down the flap and sew to the calico using a blind stitch to create the opening for the rod.
  11. Cut the dowel rod to 70cm and sand down the ends. Put the two panels on the rod. Tie a length of ribbon to each end, wrap excess around the dowel and secure with double-sided tape.
  12. Position over dodgy parts of the wall and hammer in a small nail to hang.

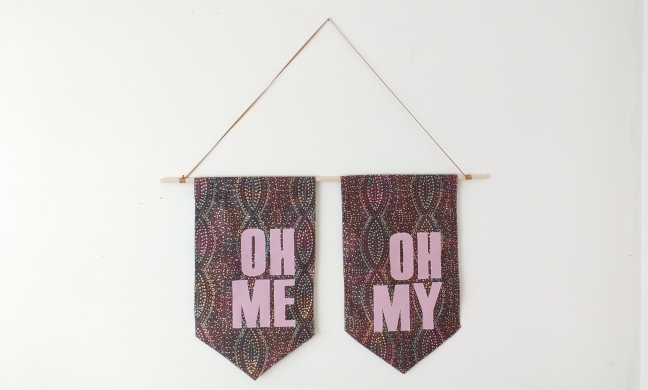
Oh Me Oh My | Wall Hanging DIYWall Hanging above Drawers DIYDIY Fabric Wall Hanging

Extra tip: I lined up the bottom right letter first, i.e. the letter E or Y, so I knew there was enough space for the whole statement. It’s good to be patient and iron one letter at a time, making sure to align in relation to each other. The iron might catch or move a letter if you try to do them all at once.

Extra, extra tip: For a cleaner look, you could put metal eyes into the end of the dowel, loop the ribbon through them and then disguise with tassels.