‘Tassel’ is a funny word. It just doesn’t look right. I had to look up whether it was ‘tassel’ or ‘tassle’. It seems that there is no consensus on the matter, so I’ll stick with tassel for now and maybe someone can correct me in the future?
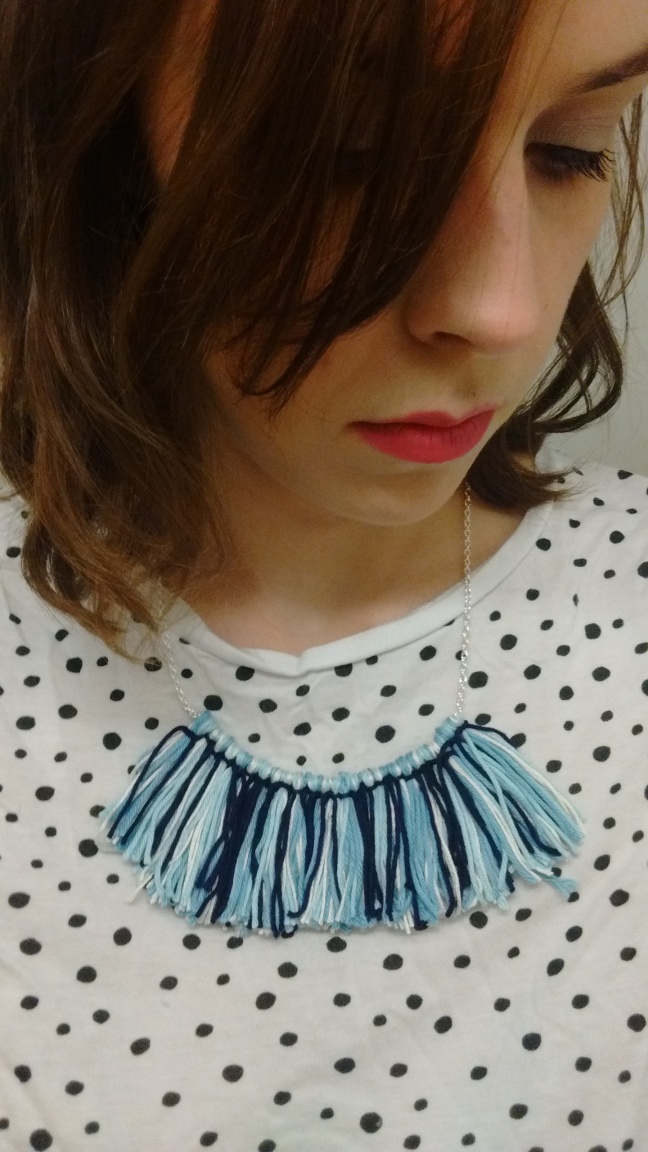
Anyway, linguistic tangents aside, I wanted to show you how to make this tassel necklace using leftover embroidery threads I found during a recent clear-out. I’m pretty happy with the nautical vibe of the end product and I think it would look great with a cute summer dress. A matching bracelet may be on the horizon too.
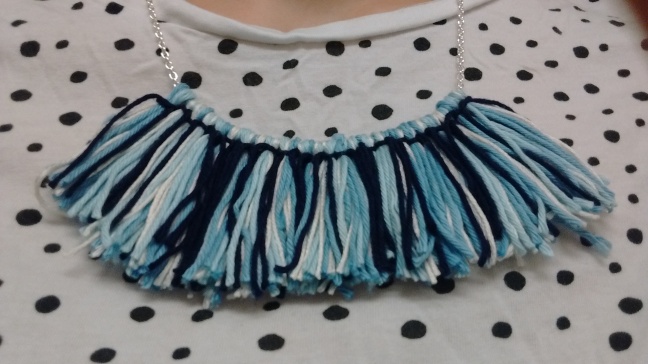
This necklace is so simple. All you have to do to form the tassel is fold the threads over the chain and tie! You could make so many variations if you experimented with length, colour combos and cutting techniques. It’s super quick too, and you can make it quicker by using an old necklace as a base instead – minimum assembly required!
Materials
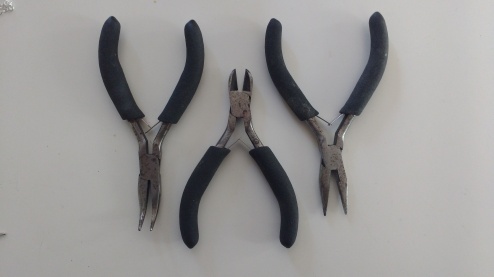
- Pliers
- Scissors
- Measuring tape/ruler
- Embroidery thread, approx 4 skeins
- Chain
- Extra links
- Clasp (lobster hook) and jump ring
Tassel Necklace : How To


- Cut the chain approx 45cm with the pliers and add the clasp and loop to each end. The chain I used was quite fine, so I added a larger link to the end before attaching the clasp and jump ring to it.


- Cut the embroidery threads approx 12 cm long. As you can see, I wasn’t too precious about this.
- Take two strands of each colour, fold over the chain and then secure by tying a single knot with the navy thread.


- Repeat as many times as you like. This necklace has 24 tassels.
- Trim the threads to tidy up the look.
Extra tip: Remember, when opening a link to pull one side towards you and the other one away from you, rather than opening the link out. This makes it easier to line up the ends of the link again when closing and avoids damage. To really understand what I mean, check out this video from Jewelry Tutorial HQ. I used slightly different pliers that I had to hand and it seemed to work fine.
Post your thoughts and any related tassel untangling musings in the comments section below!